Getting started with the Google Coral EdgeTPU using C++
In the last post i compared the inference speed of two neural networks using C++ on the CPU of a desktop computer. I stated, that for many applications it is not possible to use accelerator devices such as GPUs. This changed in the last year with Google releasing an comparably cheap dedicated neural network accelerator: the Google Coral EdgeTPU module.
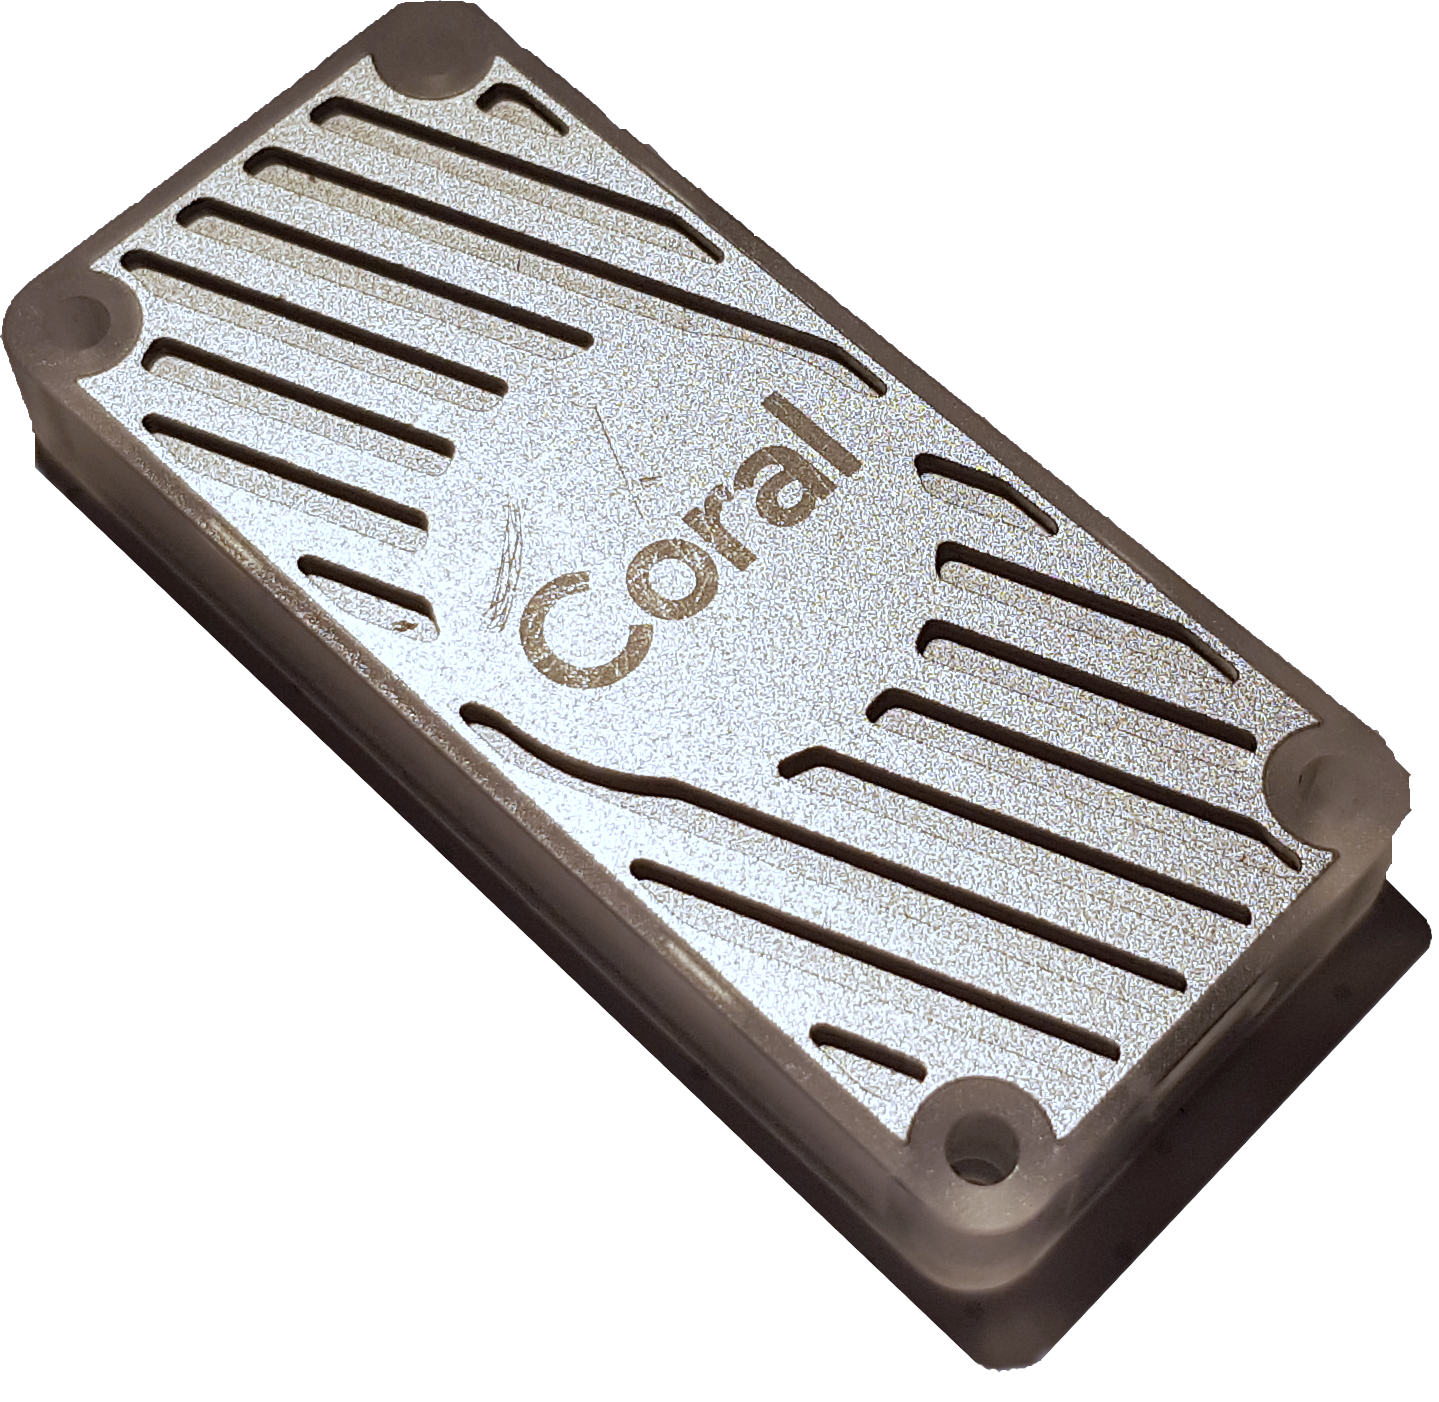
In the simplest form the accelerator can be plugged into any available USB port on the computer (USB-3 is prefered but not necessary) and the inference can be run on the device. For a better integration there are also modules available which fit into a normal M.2 socket, which is usually used for SSDs. This modules communicates with the host computer via PCI-Express.
The integration of such an EdgeTPU is easy when considering the required hardware changes, especially when comparing it to other accelerators such as GPUs. But the integration into the software which should use the TPU is not as easy. The first constraint is that the model needs to be defined and trained using TensorFlow The models for the Coral need to be quantized, this means all floating point number need to be truncated to 8-bit fixed point numbers. Additionally the model needs to be converted to a TensorFlow Lite model, and then compiled for the EdgeTpu. When executing the model the TensorFlow Lite interpreter needs to be configured to use the Coral, this is especially complicated when using the C++ interface which is not documented very well.
To simplify the application of the Google Coral Edgetpu i have compiled this blogpost to get started with the EdgeTpu using C++. For this post i assume that the reader is familiar with TensorFlow and is able to train a normal model by him/herself.
Installing all required components
To use the accelerator some software needs to be installed on the system, for most of the parts refer to the guide on the linked website as the guide changes quite regularly.
Necessary components are:
- TensorFlow: for defining and training the model
- TensorFlow-Lite (Python): for converting and quantizing the model
- Edge TPU Compiler: for compiling the model for the Edge TPU
- Driver for the EdgeTPU Device:
- Tensorflow-Lite C++ interface (see below): for running the inference using C++
Installing the TensorFlow-Lite C++ Interface
Preparations
First clone the official TensorFlow-Repository of GitHub:
git clone git@github.com:tensorflow/tensorflow.git
if you do not have a GitHub account or no SSH-Keypair the URL needs to be https://github.com/tensorflow/tensorflow.git.
You may want to check out an older version of TensorFlow (1.15) which is guaranteed to work, newer versions
(starting with TensorFlow 2) are not guaranteed to work, in the directory of the repository (cd tensorflow), checkout
the tag v1.15.0:
git checkout v1.15.0
Next flatbuffers, a dependency of Tensorflow-Lite needs to be installed manually, for this clone the repository:
git clone git@github.com:google/flatbuffers.git
(or https://github.com/google/flatbuffers.git, like above).
Next build and install flatbuffers:
cd flatbuffers
mkdir build
cd build
cmake ..
make
sudo make install
Compiling TensorFlow-Lite
Change in the tensorflow/lite/tools/make directory (yes there is a tensorflow directory in the top level tensorflow
repository directory). First install all build dependencies by running, the download_dependencies.sh script:
chmod +x download_dependencies.sh
./download_dependencies.sh
Next you can compile the library, for this there is a script as well:
chmod +x build_lib.sh
./build_lib.sh
This will generate the file (relative to the make directory) gen/linux_x86_64/lib/libtensorflow-lite.a which is
the compiled library.
Installing/using TensorFlow-Lite
The easiest way to use the library is to install it systemwide, for this copy the library and the headers in the right directoy, in the root directory of the repository run:
sudo cp tensorflow/lite/tools/make/gen/linux_x86_64/lib/libtensorflow-lite.a /usr/local/lib/
sudo cp -r tensorflow /usr/local/include/
as you can see this has the disadvantage that a large part of the repository needs to be copied to /usr/local/include.
If you do not want to do this (or do not have superuser permissions on the system), it is also possible to use the
library without installation, this can be done by specifying the correct include directory and the path to the library
to your compiler (for example gcc):
gcc -I PATH_TO_TF/tensorflow -l PATH_TO_TF/tensorflow/lite/tools/make/gen/linux_x86_64/lib/libtensorflow-lite.a other flags
Converting the model
For this part i assume that you are familiar with (normal) TensorFlow and have already trained your model. I will use the following toy example for the guide:
import tensorflow as tf

a = tf.placeholder(tf.float32, shape=(-1, 1), name="input")
b = tf.add(a, 1, name='output')

with tf.Session() as sess:
    tf.global_variables_initializer().run()

    print(sess.run(b, feed_dict{a=1}) # 2
The first step is to freeze the model, for this you can define a small helper function:
def freeze_session(session, keep_var_names=None, output_names=None, clear_devices=True):
    graph = session.graph
    with graph.as_default():
        freeze_var_names = list(set(v.op.name for v in tf.global_variables()).difference(keep_var_names or []))
        output_names = output_names or []
        output_names += [v.op.name for v in tf.global_variables()]
        input_graph_def = graph.as_graph_def()
        if clear_devices:
            for node in input_graph_def.node:
                node.device = ''
        frozen_graph = tf.graph_util.convert_variables_to_constants(
            session, input_graph_def, output_names, freeze_var_names)
        return frozen_graph
the model can then be saved by calling running:
frozen_graph = util.freeze_session(sess, output_names=["output"])
tf.train.write_graph(frozen_graph, './', 'graph.pb', as_text=False)
this can be done at the end of each epoch or at the end of training. If everything worked you should now have a file
called graph.pb.
In the next step we will optimize the graph for inference, this will remove all trainining operations such as the
optimizer and the metrics. For this change into the tensorflow repository (the one you cloned above) and change
into the tensorflow/python/tools/ directory. In this directory there is a script optimize_for_inference.py.
Run this script (be sure that the input and output names match with the ones in your script):
python3 optimize_for_inference.py
    --input=PATH_TO_YOUR_WORKDIR/graph.pb
    --output=PATH_TO_YOUR_WORKDIR/optimized_graph.pb
    --frozen_graph=True
    --input_names=input
    --output_names=output
this will generate the file optimized_graph.pb in your working directory this is still a normal TensorFlow model,
using floating point precision.
In the next step we will convert the model to TensorFlow-Lite model using 8-bit quantization.
To achieve the best quantization performance the converter needs to be able to estimate the underlying probability
density function of your data.
For this a so called representative dataset is used.
In the most cases this will be a subset of your dataset (in probabilitstic terms: you draw samples out of the
dataset probability density function), or even the whole dataset, depending on the size of your dataset and
the computational resources available.
The most basic code for conversion looks like this:
import tensorflow as tf

def representative_dataset_gen():
    inp = YOUR_CODE_HERE()
    yield inp


graph_def_file = "optimized_graph.pb"
input_arrays = ["input"]
output_arrays = ["output"]

converter = tf.lite.TFLiteConverter.from_frozen_graph(graph_def_file, input_arrays, output_arrays)
converter.optimizations = [tf.lite.Optimize.DEFAULT]

converter.representative_dataset = representative_dataset_gen

tflite_quant_model = converter.convert()
open("converted_model.tflite", "wb").write(tflite_quant_model)
you need to implement some code in the representative_dataset_gen() function to generate input samples.
This script will generate a TensorFlow-Lite file, converted_model.tflite, for execution on normal CPUs.
In the last step the model needs to be compiled for the EdgeTPU, this can be done by running
edgetpu_compiler converted_model.tflite
this will finally create a file converted_model_edgetpu.tflite which can be interpreted by the TPU.
Be sure to read the output of the edgetpu compiler: it will tell you if all operations can be mapped onto the
EdgeTPU and if there is sufficient memory available. If there are two operations which can not be mapped these
are probably
Running the inference
Python
This script will load the model from the file converted_model_edgetpu.tflite, loads an image from the file
image.png, the input can be any data of course, the API accepts any numpy ndarray, and prints the
output.
import numpy as np
import tensorflow as tf
from tensorflow.lite.python.interpreter import load_delegate
import cv2

# Load TFLite model and allocate tensors.
interpreter = tf.lite.Interpreter(model_path="converted_model_edgetpu.tflite",
                                  experimental_delegates=[load_delegate('libedgetpu.so.1.0')])
interpreter.allocate_tensors()

# Get input and output tensors.
input_details = interpreter.get_input_details()
output_details = interpreter.get_output_details()

#input_shape = input_details[0]['shape']
input_data = np.expand_dims(cv2.imread("image.png").astype(np.float32), axis=0)
interpreter.set_tensor(input_details[0]['index'], input_data)

interpreter.invoke()

output_data = interpreter.get_tensor(output_details[0]['index'])
print(output_data)
C++
Similar to the python example this script will load the model from the file converted_model_edgetpu.tflite,
the input is an image which is loaded from the file input.png (using OpenCV) and then the inference is run.
For writing the input data and reading the output data be sure to keep in mind to use the right ordering
(row- vs. colum major) and the right data types (especially if you are using memcpy there is no type checking!).
#include <iostream>

#include <tensorflow/lite/interpreter.h>
#include <tensorflow/lite/model.h>
#include <tensorflow/lite/kernels/register.h>
#include <edgetpu.h>

#include <opencv2/opencv.hpp>

int main() {
    auto edgetpuContext = edgetpu::EdgeTpuManager::GetSingleton()->OpenDevice();
    if (!edgetpuContext) {
        std::cerr << "No coral found!" << std::endl;
        return 1:
    }


    tflite::ops::builtin::BuiltinOpResolver resolver;
    resolver.AddCustom(edgetpu::kCustomOp, edgetpu::RegisterCustomOp());

    model = tflite::FlatBufferModel::BuildFromFile("converted_model_edgetpu.tflite");

    if (model == nullptr) {
        std::cerr << "Model not found!" << std::endl;
        return 1;
    }

    if (tflite::InterpreterBuilder(*model, resolver)(&interpreter) != kTfLiteOk) {
        std::cerr << "Failed to build interpreter!" << std::endl;
        return 1;
    }

    interpreter->SetExternalContext(kTfLiteEdgeTpuContext, edgetpuContext.get());
    interpreter->AllocateTensors();

    // Invoke the interpreter once to load the model onto the coral
    interpreter->Invoke();

    cv::Mat img = cv::imread("image.png", cv::IMREAD_GRAYSCALE);
    std::vector<int64_t> tensorDims = {1, 28, 28, 1}; // For example MNIST
    const auto inputSize = tensorDims[0] * tensorDims[1] * tensorDims[2] * tensorDims[3];
    const auto outputSize = 10; // Also MNIST

    auto *const input = interpreter->typed_input_tensor<float>(0);
    for (int64_t c = 0; c < inputSize; c += 3) {
        const auto *const pix = (img.data + c);
        input[c + 0] = pix[2]; // RGB to BGR
        input[c + 1] = pix[1];
        input[c + 2] = pix[0];
    }
    interpreter->Invoke();

    const auto *const output = interpreter->typed_output_tensor<float>(0);

    for (auto c=0u; c<outputSize; ++c) {
        std::cout << output[c] << " ";
    }
    std::endl;

    return 0;
}
When compiling the model be sure to link against libtensorflow-lite.a and libedgetpu.so using GCC you can compile
the code by running:
gcc -llibtensorflow-lite.a -ledgetpu main.cpp