Generating CMake projects from STM32CubeMx
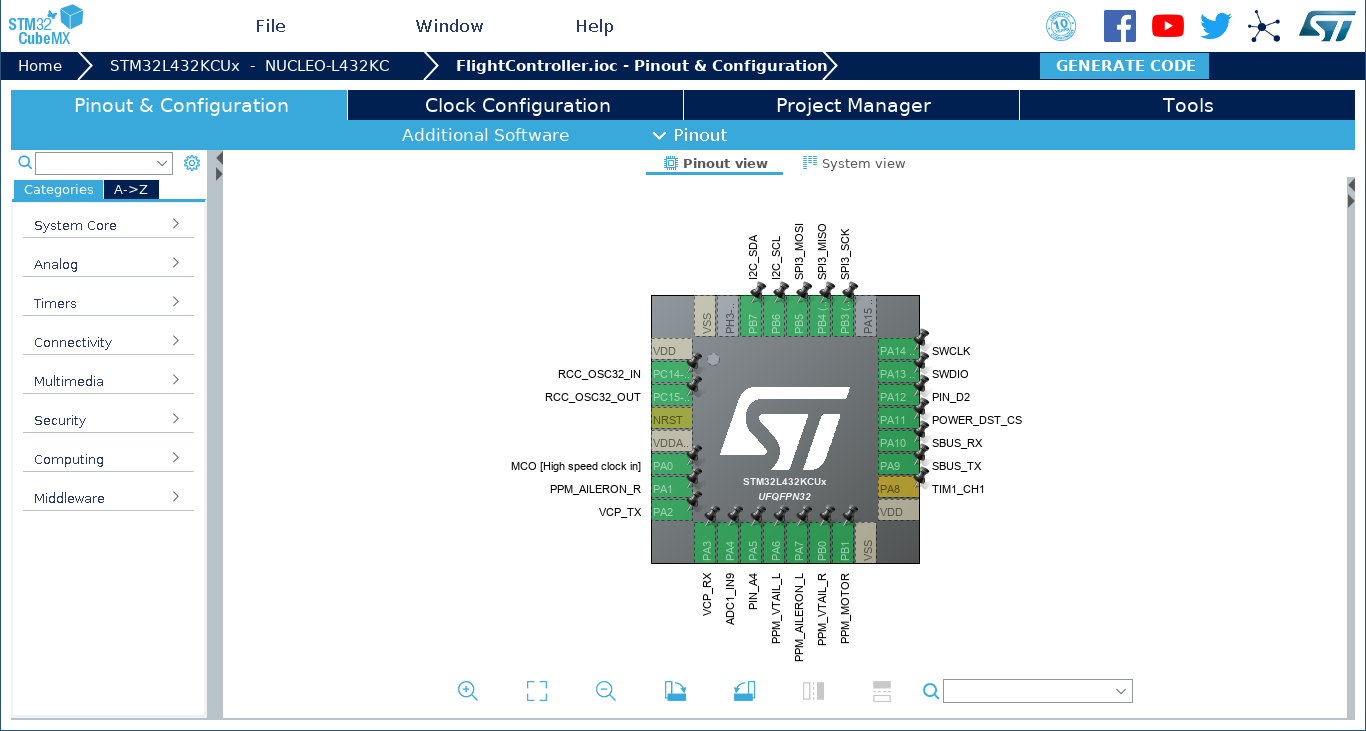
For configuring an STM32 microcontroller there is arguably no easier way to configure the chip and periphery than using STM32CubeMx (in the following refered to as CubeMx). Sadly it is only possible to export the code to a small selection of proprietary IDEs, it is neither possible to use the Code with one of the important C/C++ IDEs (CLion, QtCreator, Code::Blocks, Visual Studio,…) or to use any editor (vim, emacs, nano,…) and an external build tool to build the project. This also limits the ability to integrate the build process in some form of continuous integration.
For CLion there is at least a plugin which generates a cmake configuration from a CubeMx project. The plugin got even integrated into CLion as of version 2019.1
This plugin is nice if you are planning to use CLion, but brings quite a lot of overhead if you only want to generate a CMakeLists.txt, to use with a different IDE or editor. This why i decided to write a small python script to generate a CMakeLists.txt (this is the cmake configuration file) from a CubeMx Project. The script is heavily inspired by the CLion plugin but doesn’t use the IDE and only consists of less than 50 lines of python code!
Generating the CMakeLists.txt and building the project
This tutorial assumes you have already installed the arm-none-eabi-gcc compiler and cmake (minimum version 3.10). Furthermore it assumes that you have already created a project and done all the configuration in CubeMx.
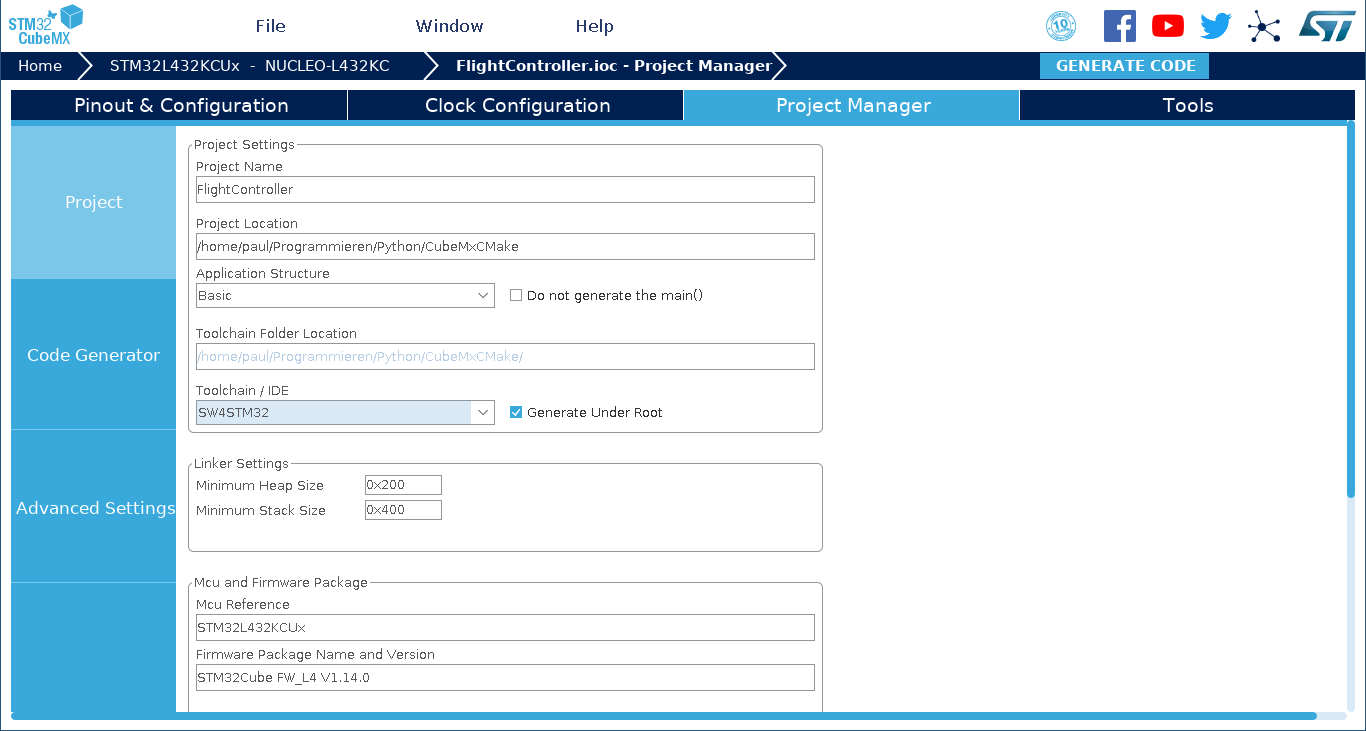
To generate the sources in the right directory structure you need to change the Toolchain-Target of the CubeMx project. Do this by clicking on Project-Settings > Project > Toolchain / IDE and select SW4STM32 in the dropdown menu.
To use this script you first need to clone the script from the github repo at https://github.com/aul12/CubeMxCMake. Next you can run the script (for this python3, which should be installed on nearly every system, is required):
python3 cubeMxCMake.py CMakeTemplate.txt yourProjectFile.ioc path/to/source/CMakeLists.txt
The first argument is the template file to use (a valid template is in the repository), the second argument the CubeMx-Project file and the third argument the file in which to write the CMake configuration.
Finally you can build the project by running cmake and make:
mkdir build
cd build
cmake ..
make
Flashing the program onto the chip
It largely depends on the protocol you are using to flash the chip (STLINK for Nucleo Devices, JTAG,…) which program to use to flash the chip. Most chips are supported by OpenOCD, but the usage is quite a hassle (lot of config file editing and creating new files for different chips).
This is why i prefer the stlink utility which follows the unix philosophy of doing one thing well: flashing chips using stlink.
Sadly this utility is officially only supported on windows. Luckily there is a port for linux.
To use the program you need to compile it from source (don’t worry this is quite easy). Start by installing the development libraries and headers for libusb,
on ubuntu this can be done by running:
sudo apt install libusb-1.0-0 libusb-1.0-0-dev
next clone the repository from github by running
git clone https://github.com/texane/stlink
change into the root directory of the project (cd stlink) and compile the program
make release
now you can either add build/Release to your $PATH or run sudo make install in the build/Release directory (if you install it system wide you may need to run ldconfig with root permissions after installing to reload the loader-cache).
Future improvements: out of the box support independent of floating point unit
There is a wide range of STM32-Microcontrollers using a wide range of Cortex-M cores with different hardware accelerators for floating point calculations. From the basic STM32F0 series using an Cortex-M0 chip without hardware support for floating point calulcations, up to the latest STM32L7 with support for advanced SIMD (Single Instruction Multiple Data, a mechanism used for fast processing of vectorized data) calulcations a lot of different compiler flags need to be set in the CMake config.
At the moment i am mainly focused on STM32L4 devices with a simple FPU (namely the STM32L432KC and the STM32L476RG), both these devices should work out of the box, for other devices there maybe some tweaking necessary.